
To add a creator-supplied image in Google Forms, select the relevant question or answer, use Add image, choose or upload the image, and select it. Google's documentation describes this for multiple-choice and checkbox questions. Decide first whether the picture explains the question or represents a particular answer choice.
A question image gives everyone shared context. An option image helps people distinguish choices. Neither is the same as asking a participant to upload a photograph, and neither is the form's decorative header.
The useful result is a question people can answer accurately. A picture that looks attractive in the editor still needs clear text and a check of the participant view.
Last verified: September 22, 2026
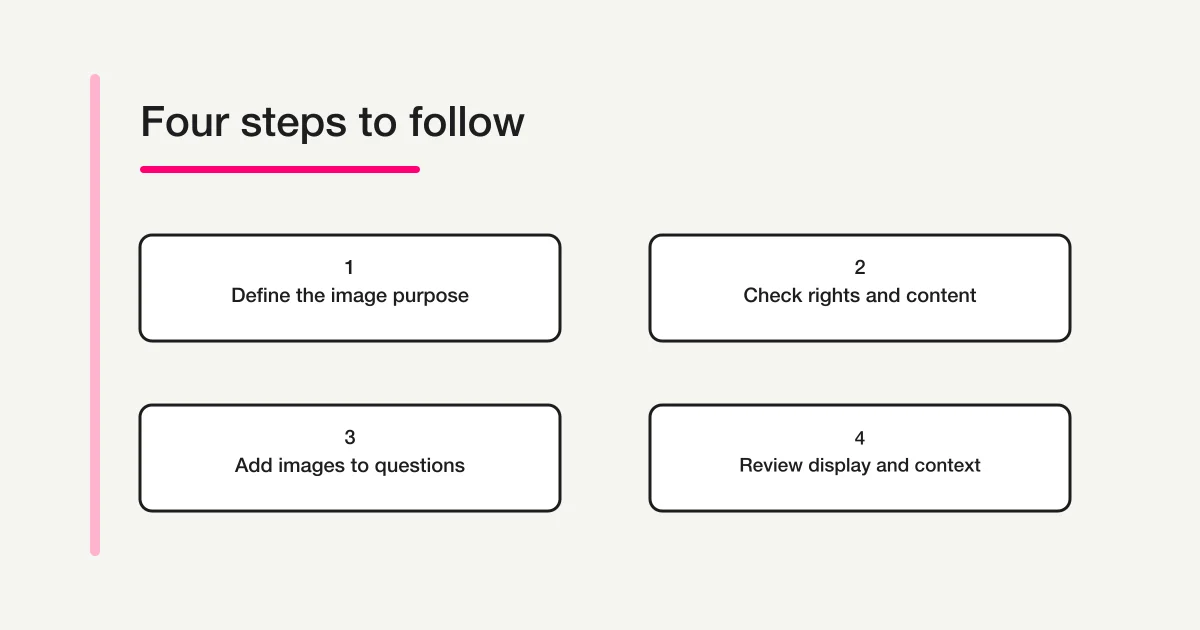
Choose the role of the image
Start by writing what the participant needs to learn from the picture. “Recognize the entrance” is a purpose. “Make the form less plain” does not explain why the picture belongs beside this question.
| Purpose | Suitable placement to consider | Text that should accompany it |
|---|---|---|
| Explain a place or object shared by all answers | Question image or a separate image nearby | What to inspect and how it relates to the question |
| Distinguish several visual alternatives | An image for each answer option | A short, distinct name for each alternative |
| Set the form's visual identity | Header or theme design | The form's normal introduction |
| Collect a participant's own photograph | A file-upload question | What to upload and why |
For appearance changes, use the Google Forms design guide. For photographs submitted by participants, the file-upload guide covers a different process and its access requirements.
Keeping these jobs separate prevents a common mismatch: an organizer adds a photo beside a question but still expects the participant to provide a file. The visible image is information supplied by the creator; it is not an upload control.
Add the image through the documented editor flow
Google's editing help describes selecting a multiple-choice or checkbox question or answer, using the image control, choosing an image, and confirming it. It also documents adding an image as a separate item in the form. Google's image insertion instructions
For a question image, make sure you have selected the question whose meaning the picture supports. For an option image, check the specific answer label before adding it. Similar option names can make it easy to attach the right file to the wrong choice.
After insertion, review the image and the text together. An image named “entrance-final” in your file browser may still show an older sign or a different side of the building. Check the content rather than trusting the filename.
Use a separate image item when the picture introduces a topic for several following questions. Keep the relationship clear in the surrounding text. If the same information is needed for each decision, consider whether one shared picture remains understandable as the participant moves through the form.
This article does not establish image support for every Google question type or provide an unverified file-size limit. Check the controls available for the particular question and the actual image you plan to use.
Example 1: show a venue entrance
Suppose a workshop organizer wants participants to recognize the correct arrival point. A photograph can show the entrance and a distinctive public sign, while nearby text gives the venue name and arrival instruction.
A draft might say:
Arrival point: Riverside Hall, east entrance beside the information board. The photograph shows that entrance from the path. Please use the east entrance for workshop check-in.
If you also ask a question, make it a real decision rather than a memory test. For example, “Do you need further arrival information?” can have text choices such as “No, these directions are sufficient” and “Yes, please provide more detail.”
The image should support the written directions. Do not place the only entrance name or check-in instruction inside the photograph. If the image loads slowly or someone cannot interpret it, the essential instruction should still be available in text.
Before release, inspect the photograph for unrelated people, vehicle plates, documents, or private access details. Use an appropriate image that you are entitled to share. This is a practical content-review step; it is not a determination that a particular photograph has legal clearance.
Example 2: compare two printed handout designs
For a design-preference question, show each proposed handout as an option image and give it a distinct label, such as “Design A — topic list first” and “Design B — schedule first.”
Ask one clear question: “Which layout makes the session schedule easier to find?” That is more specific than “Which is better?” The latter might mix readability, color preference, visual style, and personal taste into one answer.
Use comparable images. If one option is a crisp front view and another is a dim photograph at an angle, the presentation adds a difference you may not intend to test. Prepare both examples with similar framing and readable content.
A small comparison plan helps:
| Item | Design A | Design B |
|---|---|---|
| Displayed content | Same session information | Same session information |
| Main difference | Topic list appears first | Schedule appears first |
| Image treatment | Front view, readable text | Comparable front view and readability |
| Answer label | Stable, descriptive name | Stable, descriptive name |
The point is not to claim a controlled research experiment. It is to reduce obvious presentation differences that would make the feedback harder to interpret. If the designs intentionally differ in several ways, record that limitation when discussing the results.
Decide whether one or several choices are allowed
Image choices still need an answer rule. A participant choosing a preferred handout might need one selection. A participant identifying every layout suitable for a noticeboard might need several.
Use wording that makes the distinction explicit: “Choose the one layout you prefer” or “Select every layout you would consider using.” Do not rely on the pictures alone to explain how many answers are expected.
If none of the images is a suitable answer, decide whether the form needs a “None of these” option or another route. A required question without an honest choice can produce an answer simply to get past the page.
The multiple-answer guide explains checkbox behavior and selection counts. Here, the extra task is confirming that the answer label, picture, and intended number of selections all agree.
Write labels that remain useful without the pictures
A stable label helps both the participant and the organizer. “Design A — topic list first” is easier to interpret later than “This one” or “Image 2.” A descriptive label also gives someone a way to discuss a choice without reopening the picture.
Avoid identifying options solely by color or position. “The green option” may become unclear if the image is difficult to distinguish, and “the option on the right” depends on the final layout. Name the object or the meaningful difference instead.
For an image containing detailed text, repeat the information needed to answer in the form's visible wording. You do not have to transcribe decorative detail that plays no role in the decision, but do not require people to decipher tiny text to understand an essential instruction.
I have not verified a Google editor control for independently setting alternative text on every image in this workflow. This guide therefore does not promise a specific alt-text editing menu. Visible labels and useful surrounding explanations are part of the proposed design; they do not certify that every accessibility requirement has been met.
Review image rights, contents, and versions
Before uploading, establish where the file came from and why it is appropriate for this form. A photograph already stored in a shared folder is not automatically approved for every audience or purpose.
Keep a lightweight inventory for a form with several image choices:
| Option label | Image version | Purpose | Review note |
|---|---|---|---|
| Design A — topic list first | A-review-2 | Compare information order | Matches the approved draft |
| Design B — schedule first | B-review-2 | Compare information order | Same text as Design A |
These are sample labels rather than mandatory filenames. The inventory's purpose is to make mismatches visible. If a designer replaces one file, the reviewer should know which option needs another check.
Look at the image itself at its final display size. Crop unnecessary surroundings when appropriate, but do not remove a feature that the participant needs to interpret the object. Check that a revision has not introduced old dates, outdated prices, or a different venue name.
If the image contains information that should not be shared with the intended audience, prepare an appropriate replacement before publication. Do not assume a form's normal sharing arrangement makes every embedded detail suitable to distribute.
Check the participant view on a phone
A detailed image can appear legible on a large monitor and become unusable on a small screen. Open the actual form with the final labels and images, rather than reviewing isolated source files.
Ask a tester to identify the choice they would make and explain what information in the image supports it. If they need to guess from the filename or ask which picture corresponds to which label, revise the question.
Use this practical checklist:
- Each image belongs to the correct question or answer label.
- The important visual difference remains visible at the displayed size.
- Text needed for the decision is readable or repeated nearby.
- Selecting one option produces the intended single- or multiple-choice behavior.
- The question remains understandable if the picture is unavailable or unclear.
- Any test submission can be distinguished from a real response.
The fifth item does not mean every visual-comparison task can be completed without seeing its subject. It asks whether the form explains what is missing and gives a sensible way to proceed or request help, rather than forcing an uninformed choice.
Sharing by email and embedding on a website are separate
Google's sharing documentation lists questions or answer options containing images among the cases where a form cannot be embedded inside an email. That restriction concerns the email-embedded form. It should not be generalized into a claim that an image form cannot be opened through a link or used in a website context. Google's form sharing documentation
For your release, test the route participants will actually use. If the invitation is an email link, open that link. If the form appears on a website, inspect the form in that placement. A successful editor preview does not confirm every distribution surface.
Keep the surrounding invitation clear about the task. “Compare the two handout layouts” prepares the participant better than a generic “Please complete this form.” The message should describe the decision without implying a preference for one option.
Troubleshoot a confusing or missing picture
Begin by identifying the observed problem. “The image does not work” can mean an empty area, unreadable text, incorrect placement, or the wrong file.
| Observation | First thing to inspect | Useful next step |
|---|---|---|
| Wrong picture under a label | Option-to-file mapping | Replace the mismatched image and retest |
| Picture visible but unclear | Content at participant display size | Simplify the image or repeat essential text |
| Several choices look indistinguishable | Framing and labels | Explain the difference or reconsider the question |
| One option cannot be interpreted on a phone | Final participant layout | Prepare a clearer source image and retest |
| A displayed image is outdated | Version inventory | Replace it and review related wording |
Change one cause at a time where possible. Record which image and label were checked, and distinguish a visual display test from a response-submission test. If the form is already in use, consider whether a changed image alters the meaning of answers collected earlier.
Picture choices in FORMLOVA
FORMLOVA's current picture-choice implementation associates each option with an image URL, a visible label, and a stored choice value. It supports either one selected option or multiple selected options according to the field configuration.
The current renderer uses the option label as the image's alternative text and displays that label beneath the image. This makes a useful label important beyond the visual caption. It also checks the URL scheme before attempting to display the supplied image, but that check does not prove the file is available or that its contents are appropriate.
Review the actual draft, including how the picture is framed within the choice card. Do not assume that every detail in a source image remains visible in the rendered option. The implementation is not a promise to import Google's images and settings unchanged.
A starting request to an AI client connected to FORMLOVA could be:
Draft an unpublished question comparing these two approved handout images. Use one answer only and the labels “Design A — topic list first” and “Design B — schedule first.” Show the draft so I can check the pictures, labels, and selection behavior before publication.
For the larger response-handling decision, see the Google Forms, Sheets, and Apps Script operations guide.
Disclosure and Verification
I develop FORMLOVA. I checked Google's linked editing and sharing documentation and FORMLOVA's picture-choice schema and renderer on September 22, 2026. I did not add images or submit a live response in a Google account while preparing this article. The venue and handout examples are original recommendations. Google image-size limits, every question-type combination, and per-image alt-text editing controls were not verified.